Hi there!
I am finally getting over the winter and Christmas stuff and wanting to jump into spring! I have a card to share with you today that I actually used a winter product, but made a spring card! I absolutely loved the Warm Winter Scene Cover Plate when it came out, and used it several times for my winter and Christmas cards. It's one of my favorites, so I wanted to be able to use it for other types of cards too. I paired it up with the new Many Sentiments stamp set and some bright colors for a fun springy card!
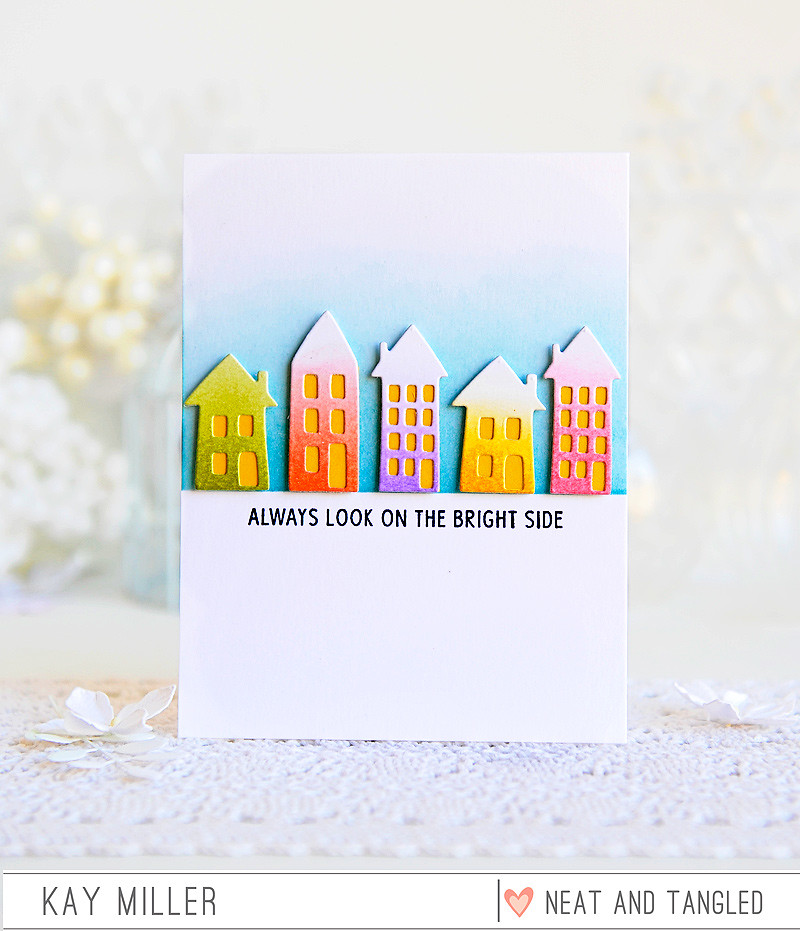
I used plain white card stock for the whole card and all of the die cuts. I cut the houses out with the Warm Winter Scene Cover Plate and blended distress ink onto them for the color. I glued some yellow card stock pieces behind them to show through for the windows and doors.
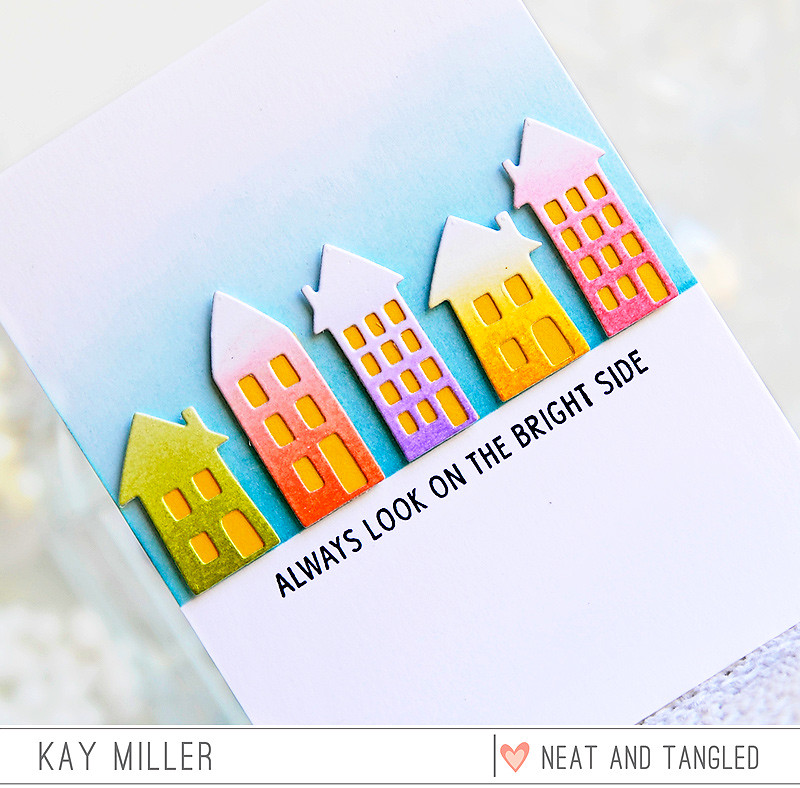
For the background, I put a piece of Painter's tape across the bottom portion and blended some blue distress ink over that. I removed the tape and stamped the sentiment below it. I added all of the houses along the bottom edge with some foam tape.
So many fun things you can use this Cover Plate die for!
I hope you have enjoyed my card today! Thanks so much for stopping by!
Kay :)
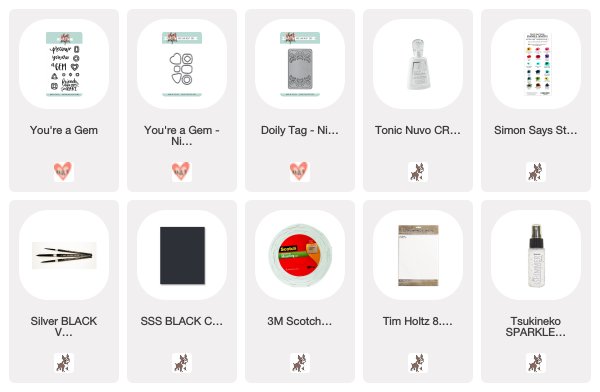
Supplies used:
5
I am finally getting over the winter and Christmas stuff and wanting to jump into spring! I have a card to share with you today that I actually used a winter product, but made a spring card! I absolutely loved the Warm Winter Scene Cover Plate when it came out, and used it several times for my winter and Christmas cards. It's one of my favorites, so I wanted to be able to use it for other types of cards too. I paired it up with the new Many Sentiments stamp set and some bright colors for a fun springy card!
I used plain white card stock for the whole card and all of the die cuts. I cut the houses out with the Warm Winter Scene Cover Plate and blended distress ink onto them for the color. I glued some yellow card stock pieces behind them to show through for the windows and doors.
For the background, I put a piece of Painter's tape across the bottom portion and blended some blue distress ink over that. I removed the tape and stamped the sentiment below it. I added all of the houses along the bottom edge with some foam tape.
So many fun things you can use this Cover Plate die for!
I hope you have enjoyed my card today! Thanks so much for stopping by!
Kay :)
Supplies used: