Happy Friday friends! We're so glad to have our March guest designer Betsy Veldman back with us today, but sad that this is her last week sharing with us! She has created an absolute stunner for her final project! Take a look:
One of my favorite stamping techniques is medallion building, so when I saw the Medallion Flower Builder set, I knew it needed to come home to me! This set is a dream come true for the medallion building technique.
I started off by marking the center of a panel of white cardstock using a ruler and some light pencil lines. I started stamping in the center with the six-petal flower, and started building from there, using the pencil lines to make sure everything is straight and evenly spaced.
Once I had the center flower stamped, I masked it off with a circle cut from scrap paper before continuing to stamp the outer petals. This just gives a bit of a different effect - more of a medallion than a flower.
I used my MISTI to stamp things multiple times for good ink coverage, and to incorporate a bit of shading into the images. What a fun card to make, and I can see using this same design over and over in all kinds of different color combinations!
Daria here. So glad you are joining us today, as I have for you not one, but two cards with video.
I am playing with Friendly Florals Stamp Set, and I am just keeping making more and more cards with it. I think it is ideal for making all sorts of floral wreath, half wreath to surround a sentiment or critter, or even just to make a floral line on your card.
For my first project, I started with making a background with Parquet Stencil. At first, I blended in some Distress Oxide in Peacock Feather. Then, I added a little bit of Nuvo Glimmer Paste in Gold. I die cut all of the floral pieces of the stamp set, using coordinating dies, and then stamp them. I have arranged the second biggest cluster in a circle and then played with the placement of a smaller pieces. I adhered everything with the foam tape to make it dimensional. To unite my wreath with the background, I added some leaves in gold glitter cardstock.
Sentiment is from So Many Sentiments Stamp Set, heat-embossed with Hero Arts Gold embossing powder. Here is a video to show you how it was done:
Another card, I have made for my sister. This card features a half wreath made with the same stamp set and dies. But this time, it is only one floral branch from the set. I also used one of my mostfavorite stamp sets - You Are Pretty.
I like clean and simple feel of it. And it is very easy and fast to make.
You can watch the process here:
I wanted to show that you can use as well as only one piece from the set (like a floral cluster I used for a card above), or all the different bits and pieces. You may go with a full wreath, or just a half of it, or even may be just make a line that goes through all the card. For example, like this one (I was simply playing with different ideas for the wreaths):
I hope you liked that simple ideas and will give them a try. Be sure to tag us in social media. It is always so rewarding to see what you create.
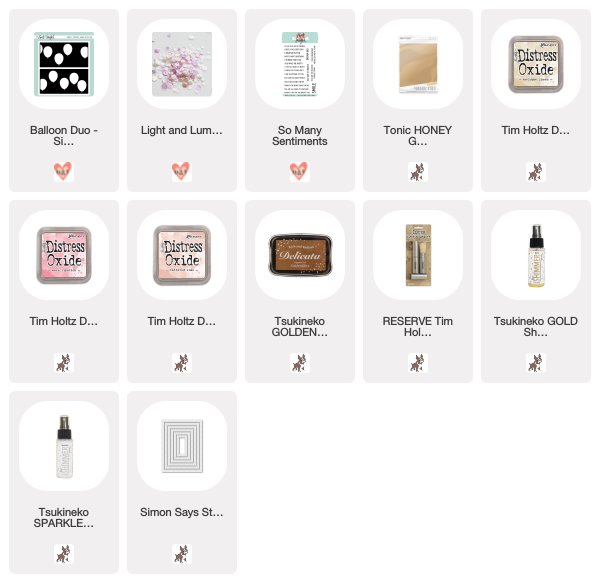
Hi there! It's Cheiron here with my monthly post. Today I have a fun birthday card featuring the Balloon Duo Stencils. For this card, I wanted to keep the colors simple with some fun and elegant pink and gold balloons and lots of sparkle.
I inked through the Balloon Duo Stencils with Tattered Rose and Antique Linen Distress Oxides, then I used a Tim Holtz Distress Blending Brush to create shading on the edges of the balloons with Warm Lipstick Distress Oxide and Delicata gold ink. Then I misted the entire panel with Sparkle Sheer Shimmer Spritz and gave it a light splatter of Gold Shimmer Spritz using a paintbrush to create small drops. Once it was dry, I added a bunch of Light and Luminous Sequins.
I stamped and embossed the sentiment from the So Many Sentiments set with white embossing powder to complete the card.
I began by taking the largest floral cluster from the Friendly Florals set, flipping it over and stamping with the back of the stamp onto a piece of white cardstock with some yellow dye inks.
I cleaned up the stamp, flipped it back the right way round and stamped the outline image straight on top of the coloured areas. I then filled in some areas of the pattern that I'd made with gold paints and a black marker.
I added detail to some of the larger florals with small dots of paint and flicked some gold and black ink splats onto the cardstock panel. I heat set the panel and trimmed it down to slightly smaller than my white card base.
I foam mounted the panel to the card base and moved onto the sentiment, which comes from the So Many Sentiments set. I white heat embossed this onto a strip of black cardstock and foam mounted to the card front.
Happy Friday! Our guest designer for this month, Betsy Veldman, is back with a sweet watercolored birthday card. Check it out:
Today's card uses the adorable Puppy's Favorite Things set. How cute is he? I diecut the puppy from watercolor paper, then stamped with a light gray ink so I could watercolor it. I love creating watercolored backgrounds for my cards, so I added a rectangle to go behind the puppy, also cut from watercolor paper.
I added some grass and clouds to the sky with some simple watercoloring. I love the little die from the set that allows you to cut his hands to hold one of the objects from the set - how clever! I diecut, stamped, and watercolored the small present for him to hold.
I decided it needed a bright, colorful background, so I watercolored some polkadots using a polka dot stencil as my guide. The sentiment, also from the Puppy's Favorite Things set is the perfect finishing touch.
Hi crafty friends! It's Keeway here today to share a little shaker card Spring inspiration with you! I love digging through my stash to remind me of the all the older sets, and the one that caught my attention was the mini stamp set Eggstra Special. I love this little chick!
One thing I accidentally discovered as I was working on the March release projects was that the leftover zig zag pieces from using the Square and Chevrons Cover Plate come in handy in creating patterns in the background, as used in one of my March release cards. But it also gave me ideas of using it to create a large egg with a zig zag design! This can be done with a large oval shaped die, which I used on an A2 sized white card for start. Then I used it again over the two zig zag strips such that I can inlay it in the oval.
I always love it when I can integrate some excess pieces from previous projects! Hope this gives you a little inspiration to check those scraps before they make it to the trash can. Have a lovely week!
Today I'm back again with another fun twist (pun intended!) on creating some interactive tags that are perfect for a kid's birthday party. Last month I brought you shaker tags, this month I'm doing spinner tags!
The centrepiece of each one is a cute coloured image that is suspended in a little window cut into the tag. That allows him to spin around as though he's doing a little happy dance! I tell you, Judah has not stopped playing with these since I made them so I can vouch that the kids will love them!
I made four different examples to show you today, each with it's own
little variation, because I guess I couldn't stop playing with this idea
either! And I wanted to show you how you can make this work for various
size little creatures.
I started off by making the tag with the dog. He's from Puppy's Favourite Things stamp set and I just love that you can choose from a
number of different objects to tuck into his paws. This time I went with
the cupcake. I also made a little party hat for him, but when I popped
it on his head he was too big to spin around in the circle frame I'd
cut, so it became a decoration over the sentiment instead.
Next
I made the turtle tag, this time knowing his party hat would have
plenty of room! However, what I didn't originally appreciate is that the
turtle (unlike the other images I chose) is a bit unbalanced. Meaning,
his largest area is his shell and birthday cake, but that doesn't run up
the centre of the image, and so if I were to adhere the spinner string
here he might just keep toppling over. But the solution was simple - I
just stuck him onto a smaller disc of cardstock and strung this up
instead. Now it spins perfectly!
Next up was the monkey tag. Both the monkey and the turtle are from the Wild Ones stamp set. The monkey is carrying a balloon which makes him quite a tall image, so instead of cutting a circle window I cut an oval one so he would fit. And since this didn't leave me any room on the tag for a sentiment, I stamped it directly onto the balloon instead!
And lastly there's that cute little monster from the latest release stamp set aptly called Little Monster! In my video today I'll show you how I made this one from start to finish so that you can go ahead and make your own versions! I'll also share my solutions for what to do with the back of the image since you're obviously going to see that when it spins around ;-)
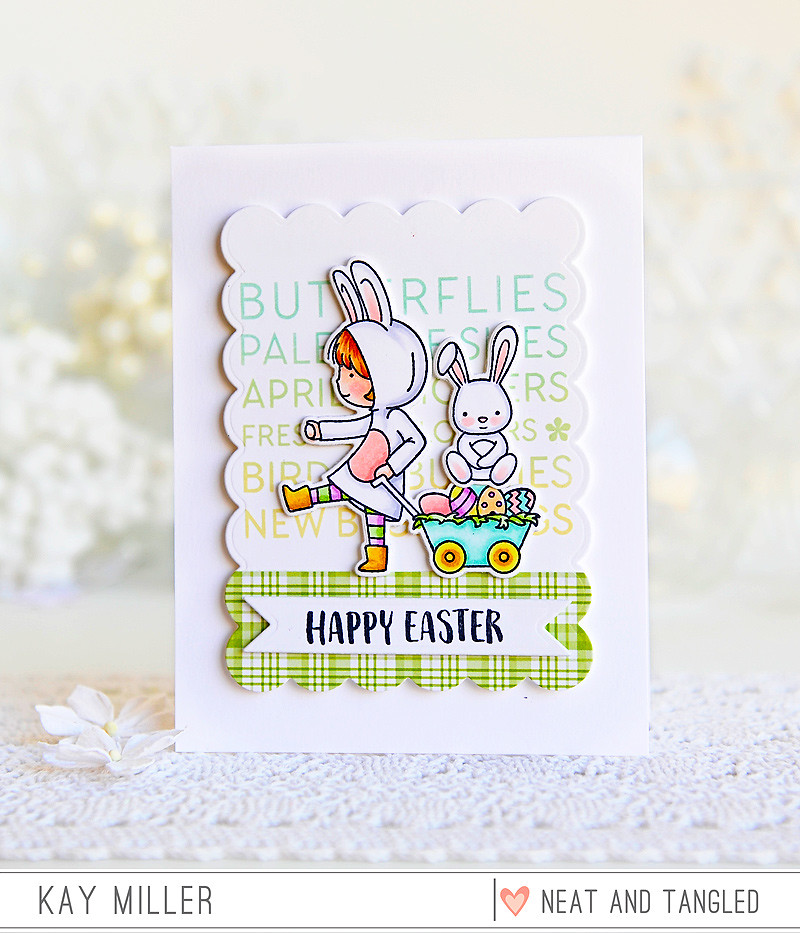
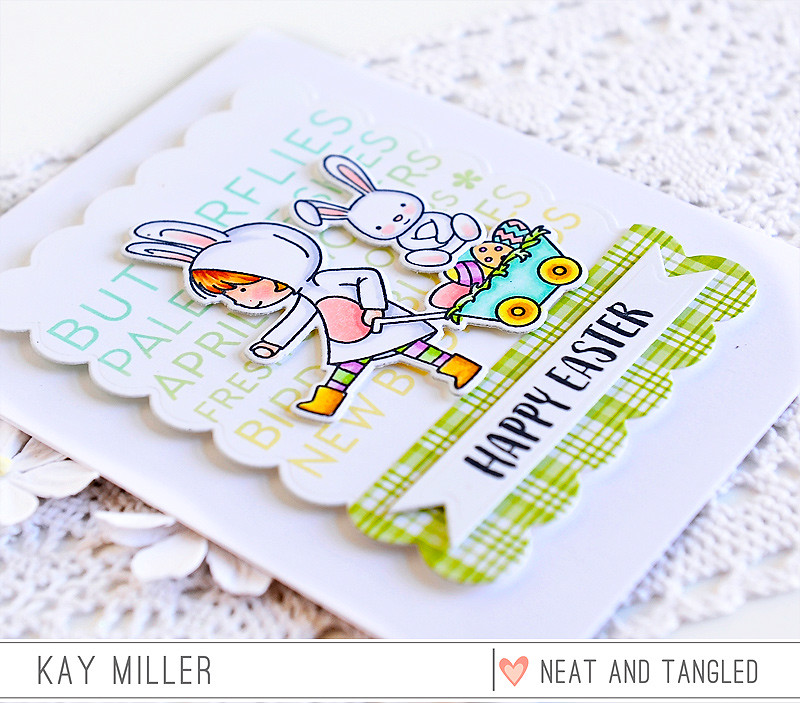
Hi there! Kay here today and I have a fun card to share with you today made with some Spring products from Neat & Tangled!
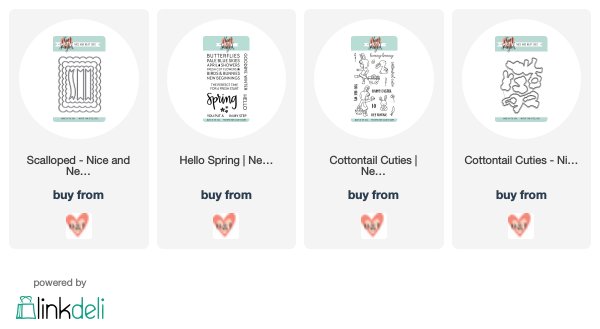
I am just now getting into the Spring mood and wanted to do some Easter cards. I chose the cute Cottontail Cutie stamp and Coordinating dies and Hello Spring!
So what I did for my background was, I stamped the large text stamp from Hello Spring with different colors of pastel inks using the MISTI stamping tool. I then layered some green plain paper across the bottom. Then I took the Scalloped Dies and cut this out. I adhered this to my white card base with foam tape.
I then colored the cute images from Cottontail Cuties with Copic markers, cut them out with the coordinating dies, and adhered them with foam tape.
I stamped the Happy Easter sentient from Cottontail Cuties with black ink, cut it out with a banner dies from the Scalloped Dies set, and adhered that over the bottom of the panel with foam tape.
Hello, Debby here today and I thought I'd share my recent experiences of thinking more about the colour palette I use on a card. I must admit that as often as not I reach for a favourite colour and just start and then halfway through I get stuck as to what other colours to use. I find this, often when colouring a multi flower arrangement, where I start with a favourite pinky peach colour and then get a bit stumped further along. So for this card using the beautiful Friendly Florals set I purposely set out at the beginning to choose my colours carefully before I actually started. In the end, I created a colour swatch with the colours I planned to use to help me stay on plan. I suggest keeping a Pinterest board of colour combinations you find inspiring and then you've always got a wealth of possibilities when you sit down to create. Here's my Pinterest Colour board.
I'm certainly going to keep creating swatches, be it watercolour or any other media, before starting a card, and I'm planning on keeping the swatches too for future reference.
Thanks for joining me today and I'll see you next time.
Happy Friday! We are so excited to have Betsy Veldman with us this month as our guest designer. Betsy needs no introduction, she's been in the industry for many years working in many aspects from designing to publishing to illustrating. We couldn't be more thrilled to have her with us, we are all in for a treat this month! Here's a little more about Betsy in her own words:
Hi there! I'm Betsy Veldman and I'm thrilled to be joining you here at Neat & Tangled for a few posts. I'm a crafty girl at heart and you will almost always find me doing some sort of crafting or creating, whether it's paper crafting, stamping, watercoloring, knitting, or illustrating, my hands are rarely still! My husband and three kids have just sort of learned to deal with the array of crafting supplies that tend to clutter our dining room table (even though I have my own craft room in the basement!) My girls will often join me in my current crafting pursuit, and I treasure the time we can spend together crafting. I love the feeling of creating things, and believe every gift you give should include at least a little something handmade. I've worked for several paper crafting companies through the years, including Paper Crafts Magazine, Provo Craft, Anna Griffin, and have been a designer for Papertrey Ink for nearly 10 years. I still enjoy paper crafting and stamping as much today as the day I started, and hope I get to continue working in my dream job for many more years to come. Thank you for having me, Neat & Tangled crew!
My card today uses the sweet Bloom set. My latest crafty endeavor is to learn some watercoloring skills, and this set just called my name! I started off by stamping the floral swag twice onto a panel of watercolor paper, using a light gray ink -- just dark enough so that I could see the outlines.
Then I took my watercolors and a small brush and went to work on watercoloring all of the little flowers, vines, and berries. Working with watercolors with stamps in this way allows you to concentrate on working on shading and painting techniques, all while the flower shapes and forms are already there for you!
I finished it off by stamping one of the beautiful sentiments from the set in a dark navy ink.
Betsy will be back next Friday to share again, have a wonderful weekend!
I don't know about you guys but I'm still oogling the latest release!
I thought the Little Monster set was just too stinkin' cute and I knew I had to use him on my card today.
I wanted him to have a fun background to sit on and decided to put my Distress Oxides to good use. I may have splurged on the newest set of Oxides (worth it!) and needed to incorporate a few new colors into my rainbow!
Raise your hand if you suffer from full set syndrome.
I laid down a super light layer of color before adding the Polygon Stencil on top and adding another layer to make it a bit bolder. It's been a minute since I put some splatters on a card and I just love how the water works the oxidation with this inks. Of course I added a bit of Perfect Pearls for shine.
Originally I was going to color my monster green and purple but I kept thinking he should be a rainbow monster to match his colorful background. What do you think, isn't his rainbow belly and horns just adorable?!
Eeep!
You can watch the whole card from start to finish in the video below.
Even though I had to make one or two adjustments to the card design I still think it came out fantastic.
Rainbows with black and white always make me smile!
I think the large black and white sentiment was something a little different to pair with this little monster but I thought it was fun!